The Windows version of the camera controller can be used to monitor and control the iPad. This is very useful when running an unattended photo booth because you can use remote desktop software such as TeamViewer, Logmein or Windows Remote Desktop to login to the Windows computer and control and monitor the iPad app. It is also needed when using a payment system with the app.
To enable the camera controller go to App Settings and select the "External controller" option. To enable the camera controller and use an external camera go to the Camera Settings screen and select "External camera".
The monitoring and remote control capabilities described in this section are available in the camera controller with or without an external camera.
When you run the camera controller for the first time you may receive a warning message from the firewall software running on the computer e.g.
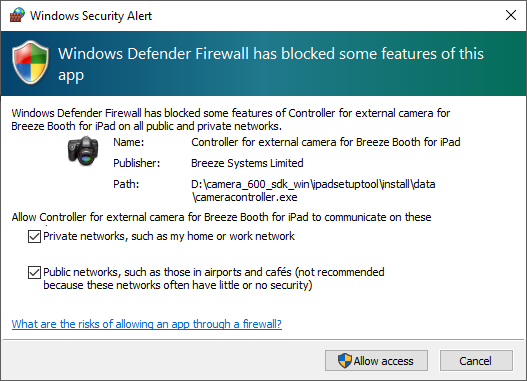
This is normal because the camera controller needs to access the network in order to communicate with the iPad. Please allow the camera controller access to the network.
The screenshot below shows the camera controller running without a network connection to an iPad:
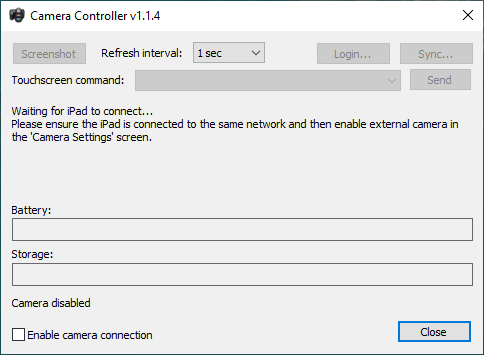
Run Breeze Booth for iPad on the iPad, and either enable "External controller" in the App Settings.
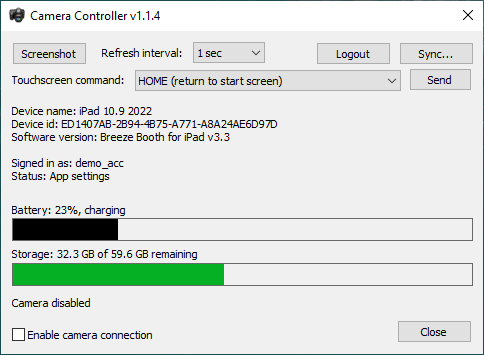
After a few seconds the iPad should connect and the camera controller screen will look something like this:
Monitoring the iPad
The camera controller displays the iPad's status and shows the iPad's name, the vendor id and the software version of Breeze Booth for iPad.
It also shows whether the iPad is signed in or not. If the app is signed into Dropbox the name of the Dropbox account will be displayed underneath the "Signed in as" line.
"Status:" shows the name of the screen currently being display in the app e.g. Startup.
The two status bars show the iPad's battery state and memory usage.
Screenshot
You can take a screenshot of the iPad app by clicking on the "Screenshot" button. This sends a command to the iPad requesting a screenshot and displays it in a separate window on the PC:
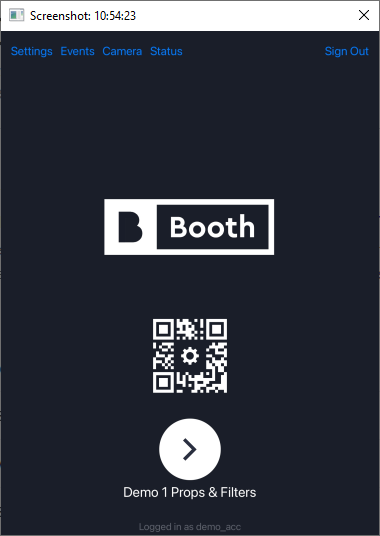
The screenshot can be refreshed regularly by setting the refresh interval. If this is set to "never" the screenshot will not update automatically but can be updated manually by pressing the screenshot button.
Warning: Setting the refresh interval to 1 sec puts a load on the iPad and may interfere with the running of an event and could cause the app to become unstable. Please select a longer refresh interval if this is a problem.
Controlling the iPad
The login/log out button can be used to log the iPad in or log it out:
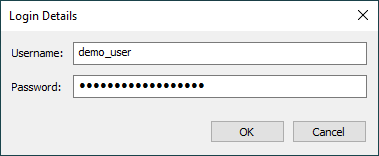
The "Touchscreen command" dropdown list allows a touchscreen command to be sent to the iPad. Select the touchscreen command from the dropdown list and then click on "Send" button to send the command to the iPad app.
The list of commands is updated according to the screen currently being displayed by the app.
When the start screen is displayed (the status is shown as "Startup") the dropdown list contains a list of events to run and an "Update all" option. Selecting one of the events will run the event on the iPad. Sending "Update all" will update all events using the sync method currently selected in App Settings.
When an event is running the touchscreen commands dropdown list will contain a list of touchscreen commands defined for the screen being displayed in the app. Sending a touchscreen command will have the same effect as tapping the touchscreen area on the iPad. The "HOME (return to start screen)" will exit the event and return to the start screen.
Please note that the camera controller can't send key press commands to the app when a keyboard or a survey screen is displayed (e.g. the sharing keyboards for entering email addresses or text numbers).
When the iPad app executes the command you should see the screen information in the status line change. You can also take screenshots to see what the app is doing.
The "Sync..." button can be used to sync/update events on the iPad. You only need to use this option too sync if you need to override the sync method currently set in the App Settings screen. If you don't need to change the sync method you can use the "Update all" touchscreen command when the start screen is displayed.
Pressing the "Sync..." button opens the "Sync Events" dialog:
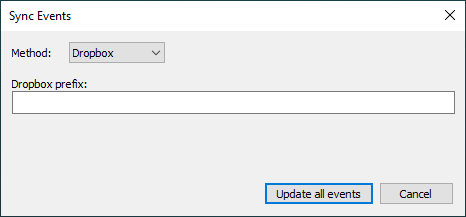
When you press the "Update all events" button the camera controller sends a command to the iPad instructing it to update all events using the specified sync method. This may take a while if there are a lot of events to sync. You can monitor the sync progress by taking screenshots or looking at the status line in the camera controller. The status line will display "Updating all events..." while it is updating the events and then it will show "Startup" when the events have been synced.
The "Method" dropdown list lets you select the sync method: Dropbox, Get or Post. Please see the section on Updating Events for more information about the different ways to sync events.
Set the method to Dropbox to update the events using Dropbox and then enter the optional prefix to specify the Dropbox folder containing the events.
Please note that it is only possible to sync via Dropbox if the app is logged into Dropbox. It isn't possible to remotely log the app into Dropbox.
Set the method to Get to update the events from a web server using HTTP GET:
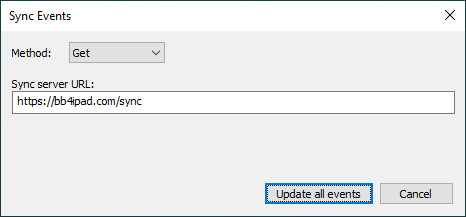
Enter the URL of the sync server to use for updating the events e.g. to download the sample events set this to https://bb4ipad.com/sync
Leave the sync server URL field blank to sync using the sync server currently defined in the App Settings screen.
Set the method to POST to update the events from a web server using HTTP POST:
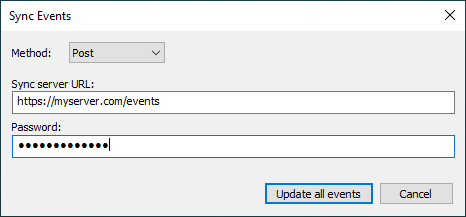
Enter the URL of the sync server to use for updating the events and the optional password.
Leave the sync server URL field blank to sync using the sync server currently defined in the App Settings screen.